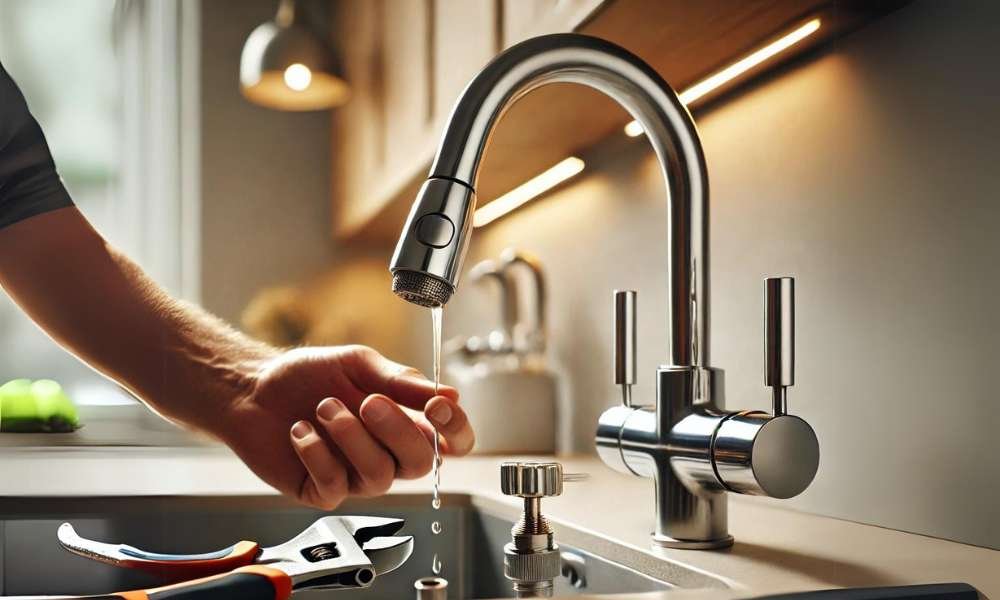
A dripping kitchen faucet might seem like a minor inconvenience at first. But let it drip long enough, and you’re watching gallons of water slip away, raising your utility bills drip by drip. Beyond the financial sting, there’s an environmental cost to consider as well. The single-handle faucet, beloved for its sleek look and simplicity, can unfortunately fall victim to leaks over time. But don’t worry—Fix A Dripping Kitchen Faucet Single Handle surprisingly straightforward, and with this guide, you’ll have it repaired in no time, saving both water and money.
Getting Acquainted with The Single-Handle Kitchen Faucet
Fix A Dripping Kitchen Faucet Single Handle have charmed many homeowners, thanks to their seamless operation. With a single lever controlling both water flow and temperature, they’re a marvel of simplicity. Fewer parts mean fewer headaches, right? But therein lies a trade-off: components like the cartridge, O-rings, and seals handle the brunt of the work and, over time, may succumb to wear and tear. The result? The dreaded drip. Understanding how these parts come together and break down is the first step in reclaiming a dry, fully functional faucet.
Pinpointing The Source of The Leak
Before grabbing your tools, you’ll want to play detective: where exactly is that drip coming from? Is it seeping from the spout, or is it lurking around the handle? A spout drip usually points to a cartridge problem, while a handle leak could mean a tired O-ring or degraded seal. Mineral deposits may also build up around these parts, intensifying the drip. Inspect the faucet carefully, noting any pooling water or mineral crusts as clues to direct your repair efforts.
Prepping The Area: Safety And Clean-Up Tips
Safety first! Before tackling repairs, shut off the water supply by turning the valves under the sink clockwise. Drain any remaining water by turning on the faucet—this simple step prevents unexpected water sprays mid-repair. Keep a bucket handy for any stray drips and lay a towel in the sink to catch small parts. This is no place for haste; setting up a clean, organized workspace will save you from hunting down tiny, slippery components later. Make sure you’ve got a wrench, screwdriver, and pliers within reach—these will be your lifelines throughout.
Step-By-Step: Taking Apart the Faucet
Begin with the handle: look for a small screw under a decorative cap, often hidden from view. Use a screwdriver to release it, and the handle should slide off. Beneath it, you’ll find a nut or clip securing the cartridge. Remove these with caution and use pliers to gently pull out the cartridge, being mindful not to damage surrounding parts. Remembering the order of removal will make reassembly a breeze.
Inspecting the Cartridge for Damage
Now to the heart of the matter: the cartridge. Even a small flaw here can spell trouble. Examine it closely for cracks, discoloration, or mineral build-up—all red flags. If the cartridge is damaged, a replacement may be necessary. But if it’s just dirty, a thorough cleaning may do the trick.
Choosing And Installing the New Cartridge
Fix A Dripping Kitchen Faucet Single Handle the cartridge isn’t as daunting as it sounds, though finding the right one can be tricky. Take the old cartridge to a hardware store where staff can help you find a match. Cartridge design varies widely by brand and model, so don’t settle for anything less than a perfect fit. Once you have the replacement, push it firmly into place, reversing the steps to reassemble.
Fixing Worn O-Rings And Seals
Don’t overlook the O-rings and seals. These small but crucial pieces keep water flow under control but can become brittle with age. Inspect them for cracks or loss of elasticity. If they’re worn, replace them by applying a thin layer of plumber’s grease on the new O-rings to ensure a snug fit and smooth operation.
Cleaning the Faucet Components: The Overlooked Hero
Time to give everything a good scrub. Mineral deposits, especially from hard water, can accumulate on your faucet parts, affecting performance. Soak the removable parts, including the cartridge and O-rings, in vinegar to dissolve stubborn buildup. A soft brush or cloth will help clear away remaining residue.
Reassembling with Precision
With each piece cleaned and inspected, it’s time to put everything back together. Start by carefully inserting the cartridge, securing it with the retaining nut or clip, and then replacing the handle. Avoid over tightening screws—it’s tempting but can damage your faucet’s delicate components. Ensure everything is aligned, as this will keep your faucet working smoothly.
Testing and Final Adjustments
Turn the water back on and let the faucet run. Check carefully around the spout and handle for any lingering drips. If leaks persist, you may need to make minor adjustments to tighten or align components.
Keep Drips at Bay: Maintenance Tips for a Leak-Free Faucet
A bit of regular maintenance can go a long way in preventing future leaks. Periodically clean the faucet and its components, especially in areas with hard water. A water softener can help reduce mineral deposits, and applying a dab of plumber’s grease on the O-rings annually will keep them from drying out and cracking.
Understanding The Terminology
Words like “cartridge,” “retaining nut,” and “O-ring” may sound technical, but familiarizing yourself with these terms will make future repairs far less intimidating. Knowing what’s what can help when consulting a hardware store or watching online tutorials, arming you with the knowledge to tackle repairs with confidence.
When It’s Time to Call the Pros
Most faucet repairs can be handled with DIY methods, but sometimes, professional intervention is best. If your faucet continues leaking after multiple repairs, or if there’s internal corrosion, consider calling a plumber. Complex issues, such as hidden pipe leaks, are better left to the experts.
Sidestepping Common Mistakes
Overtightening screws, misplacing parts—these are small errors that can lead to bigger problems. Following repair instructions closely and staying organized is crucial. A methodical approach, paired with patience, will make the process smoother.
Benefits of Repairing a Leaky Faucet
Fixing a leaking faucet isn’t just about sparing yourself the annoyance of that constant drip. It conserves water, lowers utility bills, and reduces environmental impact. By addressing leaks early, you’re not only saving resources but also contributing to water conservation efforts.
Tooling Up: Essentials for Faucet Repair
Investing in a wrench set, screwdriver, and adjustable pliers will streamline your repair process. Specialty tools, like a cartridge puller, make some tasks easier and faster. With the right tools, you can fix leaks with a precision that feels professional.
Considering Repair Kits for Ease
For a straightforward solution, faucet repair kits offer all the essentials for fixing common leaks. These kits often include replacement cartridges, O-rings, and seals, ensuring compatibility and making them perfect for beginners.
FAQs About Dripping Kitchen Faucets
How often should you replace a faucet cartridge? Every 2-5 years, depending on usage.
Does hard water contribute to faucet leaks? Yes, mineral deposits from hard water can wear down parts over time, leading to leaks.
Cleaning the Area Post-Repair
After repairs, wipe down the faucet and sink to prevent mineral deposits from building up. A clean faucet area not only looks better but also helps maintain your faucet.
Finding Resources for Future Repairs
Looking to sharpen your repair skills? YouTube and other video resources offer tutorials on faucet repairs, providing a visual guide to complement this step-by-step manual.