Stain Wood Cabinets Breathe Warm Temperature And Person Into Any Room—Be It Your Kitchen, Rest Room, Or A Humble Storage Region. But, As Years Bypass, The Herbal Charm Of Wood Can Decrease. Staining Offers A Way To Rejuvenate This Appeal, Saving You The Hefty Price Of Replacements. With A Properly-Performed Stain, Timber Grain Turns Into A Hanging Visible; Texture Profits Depth. Whether Your Fashion Leans Rustic, Smooth, Or Classic, Staining Empowers You To Personalize Your Shelves In A Transformative Manner. With A Few Tools, The Right Techniques, And Persistence As Your Accomplice, Each Person Can Learn To Stain Shelves To Perfection.
Understanding Wood Types And Their Staining Personalities
All Wood Is Not Created Equal. Each Type Has Its Quirks, And They Reveal Themselves Vividly During Staining. Softwoods—Pine, Cedar, To Name A Few—Drink Up Stain Quickly Due To Their Porous Nature, Often Resulting In Richer, Darker Hues. Hardwoods Like Oak And Maple? They’re Dense, More Stubborn. They Need Extra Coats To Reach The Same Depth Of Color. Recognizing The Unique Character Of Your Cabinet’s Wood Is Foundational—It’s The Difference Between An Amateur Look And A Craftsman’s Finish.
Choosing The Right Stain: The Art Of Matching Product With Purpose
The Stain You Choose Goes Beyond Color; It Defines Durability, Depth, And Finish. Oil-Based Stains Seep Deep, Creating A Resilient Layer Ideal For Cabinets In High-Traffic Areas But Requiring Patience With Longer Drying Times. Water-Based Stains? Quick To Dry, With Less Odor—A Practical Choice For Indoor Projects. Then, There’s The Finish—Satin, Semi-Gloss, Gloss. Each Level Of Sheen Alters The Wood’s Personality. Consider What You Want: A Shine That Pops Or A Subdued Glow That Whispers Sophistication?
Essential Tools For The Job
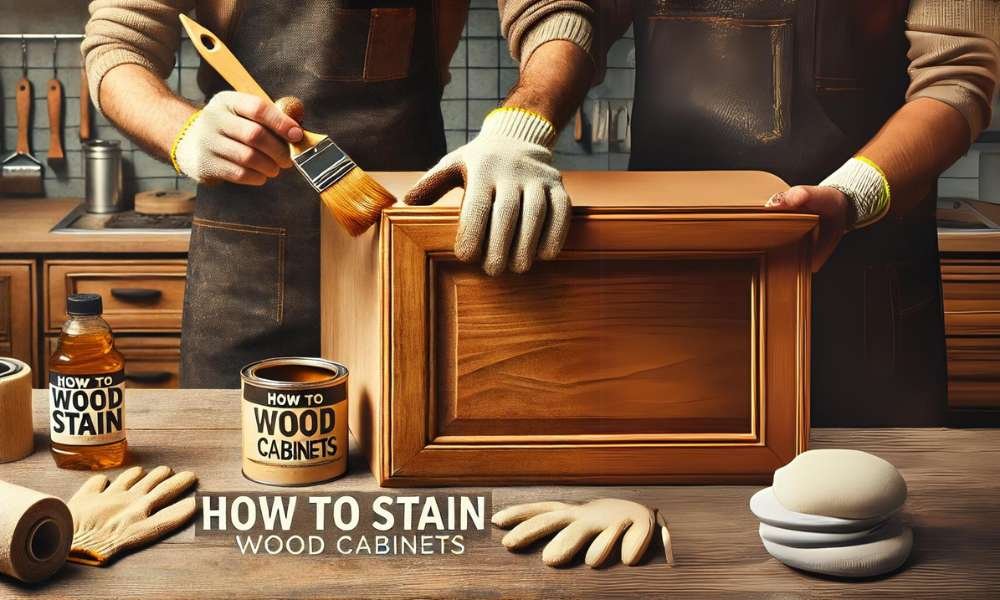
Preparation Means Having The Right Supplies Within Reach. Sandpaper Of Varying Grits—Coarse To Fine For Smoothing And Refining. Brushes And Rags For Applying Stain, A Quality Foam Brush For Precision In Tight Corners. Gloves, Drop Cloths, And A Face Mask To Handle Fumes And Stains Without Fuss. With Everything Organized And Ready, Your Workspace Turns From Chaotic To Composed, Making The Process A Focused, Enjoyable Experience.
Prepping Cabinets: Clean, Strip, And Sand
Preparation Isn’t Just A Step; It’s The Foundation. Begin By Stripping Away Any Hardware—Handles, Hinges, Knobs. Clean Every Surface Meticulously, Removing Grease, Dirt, Or Lingering Residue. Stubborn Old Finishes? They May Need A Stripping Agent Or Vigorous Sanding To Create A Blank Canvas. Each Effort Here Ensures The Stain Will Absorb Evenly, Presenting A Flawless, Fresh Surface.
Sanding: The Secret To A Refined Finish
Sanding Is The Unsung Hero Of Staining. Start With A Medium-Grit Sandpaper—120-Grit To Knock Out Imperfections. Gradually Shift To Finer Grits Like 220 For A Velvety Smooth Surface. Always Sand In The Direction Of The Stain Wood Cabinets Grain. This Discipline Avoids Scratch Marks That Can Ruin An Otherwise Beautiful Finish. Once Done, Wipe Away Every Last Particle With A Tack Cloth, Ensuring A Pristine Surface Ready To Take On The Stain.
Applying Pre-Stain Conditioner: A Key To Even Color
A Pre-Stain Wood Conditioner Primes The Wood, Preventing Blotchy Areas—Especially Critical For Porous Woods Like Pine. Brush Or Rub A Generous Layer Of Conditioner, Let It Rest For 10-15 Minutes, And Then Wipe Off Any Excess. This Step Can Mean The Difference Between A Smooth, Even Finish And A Patchy Mess. It’s An Investment In Perfection.
Techniques For Applying Stain
Different Techniques Bring Different Moods To The Wood. A Brush Delivers A Rich, Deep Stain, Saturating The Stain Wood Cabinets. A Cloth Application Gives A More Controlled, Natural Look. Foam Brushes Work Wonders On Edges And Corners, Where Precision Is Needed. Experiment In An Inconspicuous Area To Feel Out What Method Will Achieve Your Vision.
Step-By-Step Staining Process
- First Coat: Apply A Thin, Even Layer Of Stain, Following The Wood’s Grain With Smooth Strokes.
- Drying Time: Let The First Coat Dry Per Manufacturer’s Guidelines. Usually, It’s A Few Hours.
- Additional Coats: Build Up Color Gradually, Allowing Each Layer To Dry Before Applying The Next.
- Final Wipe: After The Last Coat, Give The Wood A Gentle Wipe With A Clean Cloth, Ensuring Uniformity And An Even Tone.
Tips For Flawless Results
Work Slowly, Stay Methodical. Stain In Sections To Avoid Streaks Or Blotches. Use A High-Quality Brush Or Cloth To Minimize Loose Bristles Or Fibers In The Stain. Spot A Drip? Clean It Immediately Before It Dries. Remember, A Little Patience Now Yields Results Worth The Effort.
Sealing And Protecting: The Final Flourish
Once The Stain Has Dried, Sealing Is Essential. Polyurethane Provides A Durable, Transparent Layer For Protection. Shellac? It Adds Warmth And Gloss, Ideal For Cabinets With Character. Wax Offers A Softer Look, With A Gentle Sheen. Apply In Thin Coats, Allowing Each To Dry Fully. This Sealing Process Safeguards Your Work, Ensuring It Stands Up To Time And Use.
Maintenance: Preserve The Beauty
Routine Care Will Keep Your Cabinets Looking Freshly Stained. Avoid Harsh Cleaners; They Strip Away Protective Layers. A Mild Stain Wood Cabinets Cleaner Or A Simple Water And Dish Soap Mix, Followed By A Soft Cloth Dry, Will Do Wonders. Dust Regularly To Prevent Buildup, Which Can Dull The Finish Over Time.
Creative Techniques For Unique Finishes
Feeling Adventurous? Try Antiquing For A Vintage Appeal, Or A Distressed Finish To Create A Worn-In Charm. Layering Stains, Experimenting With Glazing—Each Technique Brings Out Different Aspects Of The Wood Grain, Adding A Unique Touch. A Personalized Cabinet Finish Is A Bold Statement, A Mark Of Your Style.
Matching Cabinets With Other Wood Furniture
Achieving A Harmonious Look Between Your Cabinets And Other Wooden Furniture Isn’t As Daunting As It Sounds. Choose Similar Stain Colors To Create A Unified Appearance. Or, If Shades Differ, Consider Applying A Tinted Polyurethane Over The Final Coat To Bridge The Gap Between Tones Seamlessly.
Budget-Friendly Tips
Revamping Cabinets Doesn’t Need A Large Budget. Polish And Clean Existing Hardware Rather Than Purchasing New. Opt For Reusable Brushes And Quality Sandpaper That Can Be Stored And Used For Future Projects. Smaller Stain Quantities Also Keep Costs Low While Still Allowing You To Achieve Stunning Results.
Troubleshooting: Handling Staining Hiccups
Even With The Best Intentions, Things Happen. Blotchy Sections May Result From Inadequate Sanding Or Skipping The Conditioner. Light Spots? A Touch-Up Coat Can Do Wonders. If A Section Is Too Dark, A Quick Sanding And Restaining Should Even Things Out. With A Bit Of Patience, These Minor Issues Will Disappear, Leaving A Flawless Finish.
Faqs: Common Questions About Staining Wood Cabinets
- How Long Should The Stain Dry Before Sealing? Generally, 24 Hours. This Ensures Full Absorption And Prevents Smudging.
- Can I Skip Sanding? While You Can, It’s Not Advisable. Sanding Prepares The Wood For A Smooth, Even Stain.
Safety Measures
Staining Is An Art, But It Also Requires Caution. Work In A Ventilated Space, Wear A Mask To Avoid Inhaling Fumes, And Gloves To Protect Your Skin. Dispose Of Rags Responsibly—Stain-Soaked Clothes Can Be Flammable. Safety Ensures Not Only A Successful Project But An Accident-Free One.
Conclusion: Bringing New Life To Your Cabinets
Staining Wooden Cabinets Is A Transformative Way—A Blend Of Artwork And Practicality. With Schooling, Technique, And Attention To Detail, You’ll Create An End That No Longer Only Elevates Your Cabinets However Enriches Your Area. Embrace Each Step, Experience The Approach, And Take Satisfaction Within The Very Last Show. Your Cabinets, Now Infused With Color And Man Or Woman, Will Stand As A Testimony In Your Craftsmanship.