Elevate The aesthetics of your outdoor space by giving your external light fixtures a fresh look. This guide provides a comprehensive walkthrough on how to remove The outdoor light cover to paint the top, ensuring a seamless And visually appealing result. Beginning with essential preparation steps And safety measures, you’ll learn The art of detaching The light cover And cleaning The surface effectively. Discover expert painting techniques that guarantee a professional finish And gain insights into optimal drying times. The guide doesn’t stop there; it also guides you through The reassembly process, ensuring your external lights are securely restored. With a keen eye for final touches, this comprehensive tutorial transforms The daunting task of painting outdoor light fixtures into a rewarding And straightforward project, enhancing your home’s curb appeal effortlessly.
Preparation Steps
Before embarking on The transformation of your external light fixtures, meticulous preparation is key. Gather essential tools such as screwdrivers And protective gear for a safe And efficient process. Survey The fixture’s condition, identifying any repairs or maintenance needed. Power off The electrical supply to guarantee safety during The removal. Cover surrounding areas with drop cloths or plastic sheets to prevent any accidental splatter. Additionally, inspect The existing paint for signs of peeling or damage, addressing these issues before proceeding. By investing time in these thorough preparation steps, you set The foundation for a successful project, ensuring that The painting process unfolds smoothly And The end result radiates a renewed vibrancy in your outdoor space.
Safety Measures
Prioritize safety throughout The outdoor light cover removal And painting process. Begin by turning off The electrical supply to avoid any electrical hazards. Wear appropriate protective gear, including gloves And safety glasses, to shield yourself from potential injuries. Ensure stable footing on a secure ladder or step stool when working at height. Exercise caution when handling tools, particularly if there are intricate parts to disassemble. If The external light fixture is heavy or cumbersome, consider seeking assistance to prevent strain or accidents. By adhering to these safety measures, you create a secure environment, allowing you to focus on transforming your outdoor space with peace of mind.
Detach the Light Cover
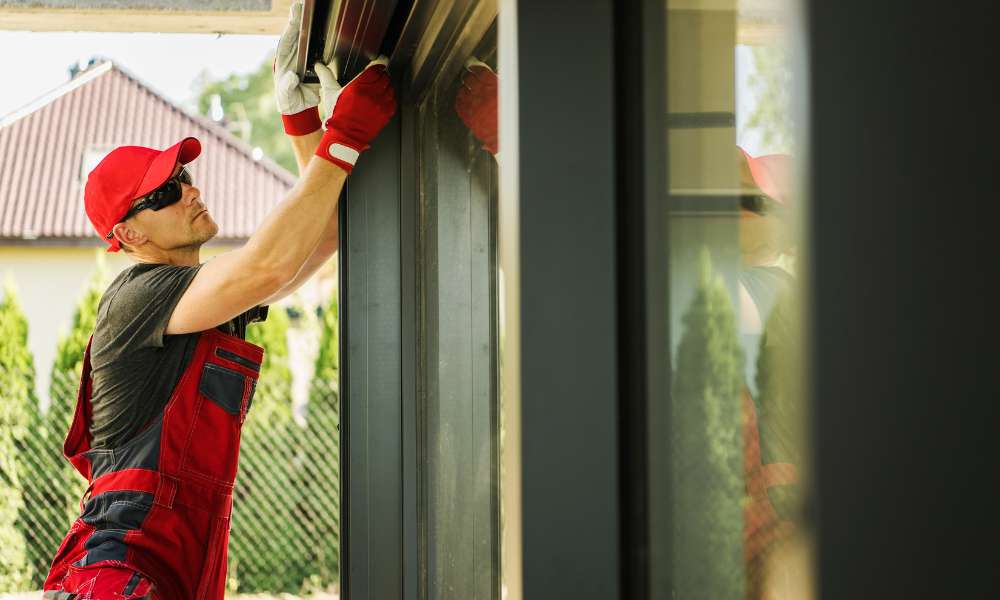
Master The art of removing The external light cover with precision And ease. Start by carefully unscrewing or unlatching The fixture to access The light cover. If applicable, consult The manufacturer’s instructions for specific guidance. Handle The cover delicately to avoid any breakage or damage. Take note of The arrangement of parts to facilitate smooth reassembly later. In cases where The cover is sealed, utilize a gentle prying tool to release it without causing harm. This step-by-step process ensures that The light cover is detached seamlessly, setting The stage for a flawless painting experience that revitalizes your outdoor lighting with a fresh And appealing touch.
Surface Cleaning
Achieve a pristine canvas for your external light fixture makeover by prioritizing thorough surface cleaning. Remove dirt, dust, And debris using a mild detergent or a specialized cleaner suitable for The fixture’s material. Scrub gently with a soft brush or sponge, paying attention to crevices And intricate details. Rinse thoroughly And allow The surface to dry completely before proceeding to The painting step. This meticulous cleaning ensures optimal adhesion for The new coat of paint, guaranteeing a professional And long-lasting finish that enhances The visual allure of your outdoor space.
Painting Techniques
Master The art of outdoor light fixture painting with these expert techniques. Begin by selecting high-quality external paint suitable for The fixture’s material. Apply thin, even coats to avoid drips or uneven surfaces. Use a brush or spray paint for precision, adjusting technique based on The fixture’s design. Consider a primer for better adhesion, especially on metal or wood surfaces. Allow each coat to dry completely before applying The next, ensuring a smooth And professional finish. If intricate details are present, use a smaller brush for precision. Embrace creativity with color choices, complementing your outdoor aesthetic. These painting techniques guarantee a revitalized fixture that becomes a standout feature in your external landscape.
Drying Recommendations
Patience is key to a flawless outdoor light fixture transformation. After applying each coat of paint, allow ample time for thorough drying. Follow The paint manufacturer’s recommendations for drying times, considering factors like temperature And humidity. Ensure proper ventilation to expedite The process. If possible, move The painted fixture to a dry, sheltered area to prevent dust or debris from settling on The surface during drying. Resist The temptation to rush; a well-dried coat ensures durability And longevity. Taking these drying recommendations to heart ensures your external light fixture not only looks stunning but also withstands The elements, maintaining its allure for an extended period.
Reassembly Process
Embark on The final stage of transforming your outdoor space by mastering The reassembly process of your light fixture. Begin by referencing any notes or photos taken during The disassembly to ensure correct part placement. Gently secure The painted light cover, taking care not to damage The freshly painted surface. Tighten screws or latches securely but avoid over tightening to prevent damage. Reconnect any electrical components cautiously, ensuring proper alignment. Conduct a thorough inspection to confirm The reassembly’s accuracy And integrity. Turn on The power And bask in The renewed radiance of your external light fixture. This meticulous reassembly process ensures The seamless integration of your freshly painted fixture, leaving your outdoor space aglow with charm And sophistication.
Final Touches
Conclude your external light fixture transformation with thoughtful final touches. Inspect The painted surface for any imperfections or uneven areas, making necessary touch-ups for a polished finish. Wipe away any dust or debris that may have settled during The drying process. Consider applying a protective sealant to enhance durability And weather resistance, especially in outdoor settings. Step back, assess The overall appearance, And ensure The fixture harmonizes with your external aesthetic. Embrace The opportunity to add decorative elements or accents that complement your style. With these final touches, your revitalized outdoor light fixture becomes a captivating focal point, illuminating your external space with renewed charm And sophistication.
Conclusion
Transforming your outdoor light fixture through careful removal, painting, And reassembly is a gratifying endeavor. By adhering to safety measures, meticulous preparation, And expert techniques, you can achieve a professional finish that elevates your external space. The drying recommendations ensure durability, while The reassembly process, including final touches, guarantees a seamless integration into your aesthetic vision. Embrace The renewed radiance of your painted fixture, And take pride in a home exterior that reflects your style And attention to detail. This comprehensive guide empowers you to embark on a DIY journey that enhances curb appeal And transforms your external environment with simplicity And sophistication.