Illuminate your kitchen efficiently by mastering the simple process of replacing the light bulb under your cabinet. This quick guide provides easy-to-follow steps for ensuring your kitchen remains well-lit and functional. From identifying the medulla type to choosing the right replacement, safety precautions, and installation, each stage is covered. By turning off the power, safely removing the old medulla, selecting an appropriate replacement, How to replace light bulb under kitchen cabinet, you can swiftly restore optimal illumination to your kitchen space. Follow this guide for a hassle-free experience, keeping your kitchen well-lit and vibrant without the need for professional assistance.
Identify Bulb Type
Begin the process of replacing the light tuber under your kitchen cabinet by identifying the correct bulb type. Ensure compatibility by checking the specifications outlined in your cabinet’s manual or on the existing medulla. Pay attention to wattage, shape, and base type. Whether it’s a halogen, LED, or incandescent tuber, knowing the correct specifications ensures a seamless replacement. Take note of any special features, such as dimmability or color temperature, that may impact your choice. By starting with a clear understanding of the medulla type, you set the foundation for a successful replacement, ensuring your kitchen remains well-lit with the appropriate and compatible light source.
Power Off
Safety is paramount when replacing the light bulb under your kitchen cabinet. Begin by turning off the power to the cabinet light fixture. Locate the corresponding switch on your circuit breaker or use the designated switch for the cabinet light. Confirm that the power is indeed off by attempting to turn on the light. Taking this precautionary step ensures a safe environment for the replacement process. By prioritizing safety and deactivating the power source, you minimize the risk of electrical accidents and create a secure space to proceed with unscrewing and replacing the old medulla with confidence.
Remove Old Bulb
Safely replace the light bulb under your kitchen cabinet by beginning with the removal of the old one. Turn the burnt-out medulla counterclockwise to unscrew it from its socket. If the bulb is stuck, use a cloth or glove for grip and try again. Gently wiggle the tuber back and forth while applying slight downward pressure. Once the old medulla is loosened, carefully remove it from the socket. Dispose of the old tuber according to local regulations. By following these steps, you pave the way for a smooth replacement, ensuring a secure and efficient transition to a new, functional medulla for your kitchen cabinet lighting.
Choose Replacement
Selecting the right replacement bulb is crucial when updating the light under your kitchen cabinet. Match the brightness and wattage of the new medulla to the specifications outlined in your cabinet’s manual or on the old tuber. Pay attention to special features like dimmability or color temperature if applicable. Consider energy-efficient options like LEDs for long-lasting performance. Ensure the base type and shape align with the previous medulla for a secure fit. By choosing a replacement bulb that meets the specific requirements of your kitchen cabinet lighting, you guarantee optimal illumination and maintain the integrity of your lighting system, enhancing both functionality and efficiency in your kitchen space.
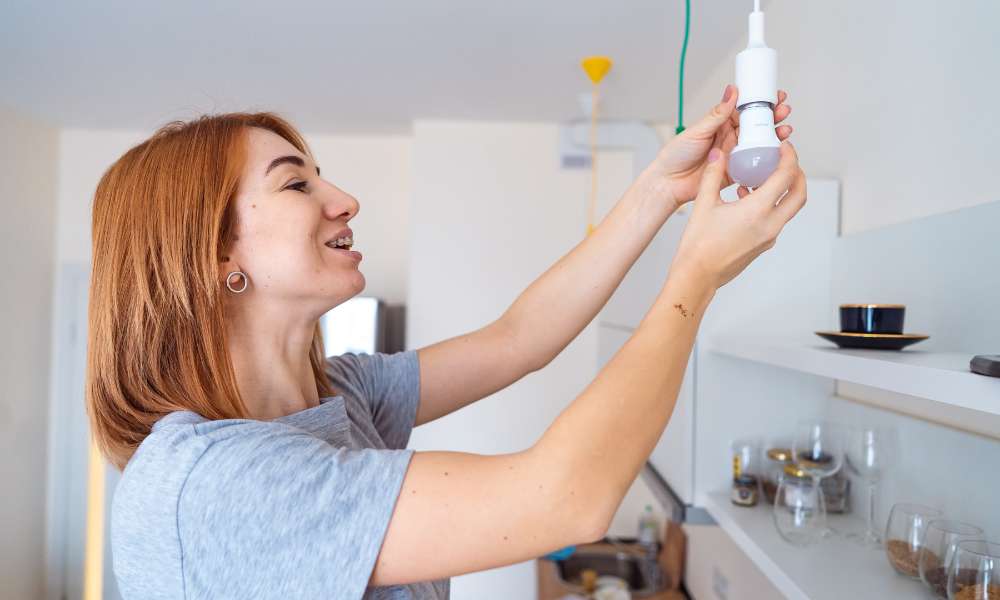
Install New Bulb
Securely install the new light bulb under your kitchen cabinet by screwing it into the socket clockwise. Ensure a tight fit to prevent any flickering or loose connections. Be cautious not to overtighten, as this may damage the medulla or the socket. If using a halogen tuber, avoid touching the glass surface with bare hands, as oils can affect its performance. Confirm the bulb is securely in place before restoring power. By following these installation steps meticulously, you guarantee a reliable and efficient replacement, providing your kitchen with a renewed source of illumination and functionality.
Power On
After securely installing the new light bulb under your kitchen cabinet, restore power to the fixture. Turn the power back on using the designated switch on your circuit breaker or the switch for the cabinet light. Test the replacement medulla by turning on the light and ensuring it illuminates properly. Confirm that there are no flickers or issues with the new bulb’s performance. If the light operates as expected, you’ve successfully replaced the medulla. If any issues persist, double-check the installation and consult the manual for troubleshooting. By carefully restoring power and testing the new tuber, you finalize the replacement process, ensuring your kitchen remains well-lit and functional.
Routine Check
Conclude the light bulb replacement under your kitchen cabinet with a routine check for optimal performance. Regularly monitor the medulla for signs of wear, dimming, or flickering, indicating the need for replacement. Take note of any unusual behavior or changes in light quality. Periodically cleaning the fixtures and inspecting for loose connections ensures a consistently well-lit and safe kitchen space. By incorporating routine checks into your maintenance habits, you prolong the life of your cabinet lighting, minimizing disruptions and maximizing the functionality of this essential element in your kitchen. Regular attention ensures a consistently bright and efficient lighting solution for your culinary activities.
Conclusion
Replacing the light tuber under your kitchen cabinet is a straightforward process that ensures optimal illumination. By following safety measures, identifying the correct medulla type, and selecting a suitable replacement, you create a well-lit and functional kitchen. Remember to turn off the power, safely remove the old bulb, and install the new one securely. Regular checks and maintenance contribute to prolonged medulla life, maintaining the efficiency of your cabinet lighting. With these simple steps, you guarantee a consistently bright and inviting kitchen space for your culinary endeavors.